What Is Crawl Budget and Why Does It Matter for SEO?
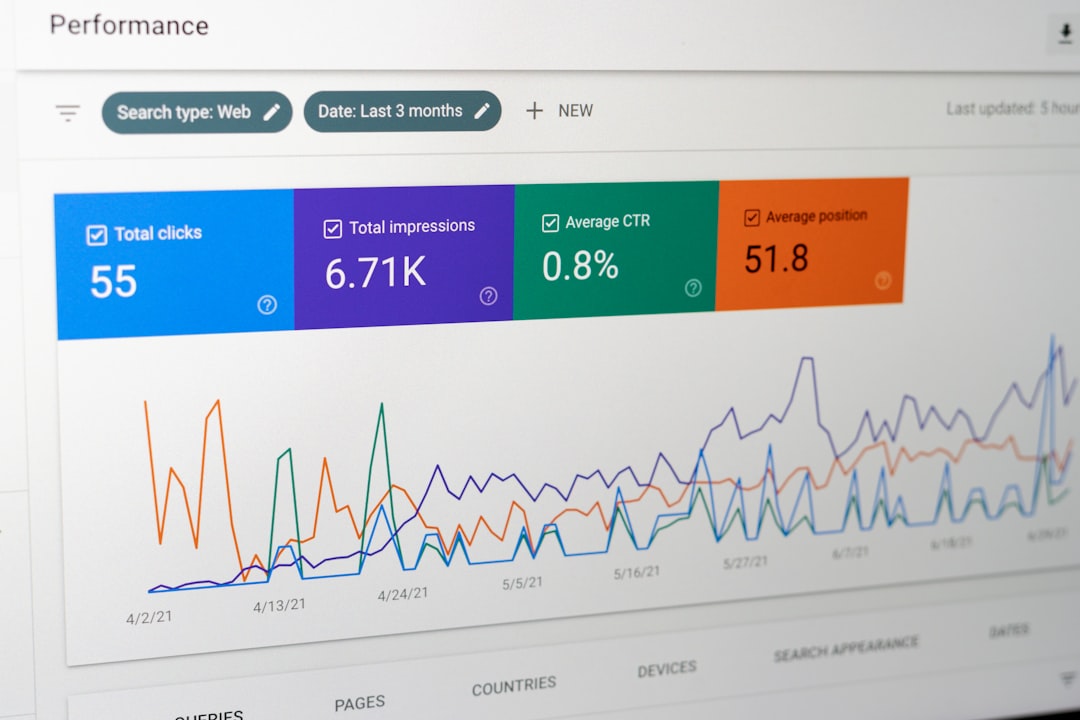
What Is Crawl Budget and Why Does It Matter for SEO? Crawl budget SEO is one of the most underestimated technical factors that determines how well your website performs in Google search results. If you’ve ever wondered why some of your pages aren’t showing up in Google — even after publishing them weeks ago — crawl budget could be the reason. For NYC small businesses competing in crowded local markets, making sure Google indexes every important page on your site is not optional. It’s essential. In this guide, we’ll break down exactly what crawl budget means, why it matters, and the practical steps you can take to optimize it — even if you’re not a technical expert. What Is a Crawl Budget? When Google’s bots (called Googlebot) visit your website, they don’t crawl every page every day. They have a limited amount of time and resources to spend on each site. Your crawl budget is essentially the number of pages Googlebot will crawl on your site within a given timeframe. Google determines your crawl budget based on two main factors: Crawl Rate Limit: This is how fast Googlebot can crawl your site without overloading your server. If your server is slow or frequently returns errors, Google will crawl your site less often to avoid causing problems. Crawl Demand: This is how much Google wants to crawl your pages based on their popularity and freshness. Pages that are frequently updated or earn lots of backlinks tend to get crawled more often. Together, these two factors determine how many pages Google crawls on your site each day. According to Google’s official crawl budget documentation, for most small and medium-sized websites, crawl budget is not a pressing concern. But for larger sites — or sites with many low-quality, duplicate, or redirect-heavy pages — it can become a significant barrier to ranking. Why Does Crawl Budget SEO Matter for Your Business? Crawl budget SEO matters because a page that hasn’t been crawled cannot be indexed. And a page that isn’t indexed cannot rank in search results. If Googlebot is wasting its crawl budget on low-value pages — like admin pages, duplicate content, or infinite scroll parameters — it might never get around to crawling your best content. Here’s a real-world scenario: Imagine you run a home services company in Brooklyn with 50 service area pages. If your site has hundreds of thin, low-quality blog posts from years ago, Googlebot might spend all its time crawling those old posts and never fully index your new service pages. The result? Your high-converting service pages don’t show up when potential customers search for you. This is especially common for e-commerce websites, news sites, and any site with a large content library. But even small business websites can run into crawl budget issues if they’re not well-maintained. 7 Ways to Optimize Your Crawl Budget SEO 1. Fix Crawl Errors First Before anything else, log into Google Search Console and check the Coverage report. This report shows which pages Google has successfully indexed, which are excluded, and which are returning errors. 404 errors, redirect chains, and server errors all waste crawl budget. Fix 404 errors by either restoring the missing pages or setting up proper 301 redirects to the most relevant live page. Eliminate redirect chains — if Page A redirects to Page B which redirects to Page C, Googlebot may give up before reaching the final destination. Aim for direct, single-hop redirects wherever possible. 2. Block Low-Value Pages with Robots.txt Your robots.txt file tells Googlebot which sections of your site it should and shouldn’t crawl. Use it to block pages that have no SEO value, such as: Admin and login pages (e.g., /wp-admin/), thank-you pages after form submissions, internal search results pages, and cart or checkout pages for e-commerce sites. By blocking these low-value pages, you direct Googlebot’s attention toward the pages that actually matter — your service pages, blog posts, and landing pages. 3. Use Canonical Tags Correctly If your site has duplicate or near-duplicate content — such as the same product appearing under multiple category URLs — canonical tags tell Google which version is the “official” one. This prevents Googlebot from crawling multiple versions of the same page and wasting budget on duplicates. For example, if your blog post appears at both /blog/post-name/ and /?p=123, a canonical tag on both URLs pointing to the blog version tells Google to only index and prioritize that one. Most SEO plugins for WordPress, including Rank Math, handle canonical tags automatically when configured correctly. 4. Improve Your Site Speed Your crawl rate limit is directly tied to your server’s performance. A fast, reliable server encourages Google to crawl more pages per day. A slow server — one that takes several seconds to respond — causes Googlebot to back off and crawl fewer pages. To improve crawl rate: use a quality web host with fast server response times, enable browser caching and GZIP compression, use a content delivery network (CDN) to serve pages faster, and compress images before uploading them. According to Google’s Core Web Vitals guidelines, pages should aim for a Time to First Byte (TTFB) under 800ms. Faster TTFB means faster crawling. 5. Update Your XML Sitemap Your XML sitemap is a roadmap for Googlebot. It lists all the important pages on your site so Google knows they exist and can prioritize crawling them. Make sure your sitemap only includes pages you actually want indexed — not redirects, 404 pages, noindexed pages, or thin content. Submit your sitemap to Google Search Console via the Sitemaps report. If you use WordPress with a plugin like Rank Math or Yoast SEO, your sitemap is typically generated automatically. Regularly audit your sitemap to remove any pages that shouldn’t be there. A clean, accurate sitemap is one of the most effective ways to help Google find and crawl your most important content efficiently. 6. Remove or Consolidate Thin Content Thin content — pages with very little useful information — is one of